
Assessing condition
Identify the wood, joinery, and finish before touching anything. Note loose joints, veneer lifting, woodworm exit holes, and water damage.
Read the assessment guideA structured look at how aged furniture is assessed, cleaned, and renewed. The focus is on surface repair, refinishing decisions, and keeping the original character of a piece intact, including the conditions Canadian homes and seasonal humidity place on old wood.

Restoration rarely starts with sanding. It starts with reading the piece, deciding what is worth keeping, and choosing the least invasive method that still produces a stable, usable result.
Identify the wood, joinery, and finish before touching anything. Note loose joints, veneer lifting, woodworm exit holes, and water damage.
Read the assessment guide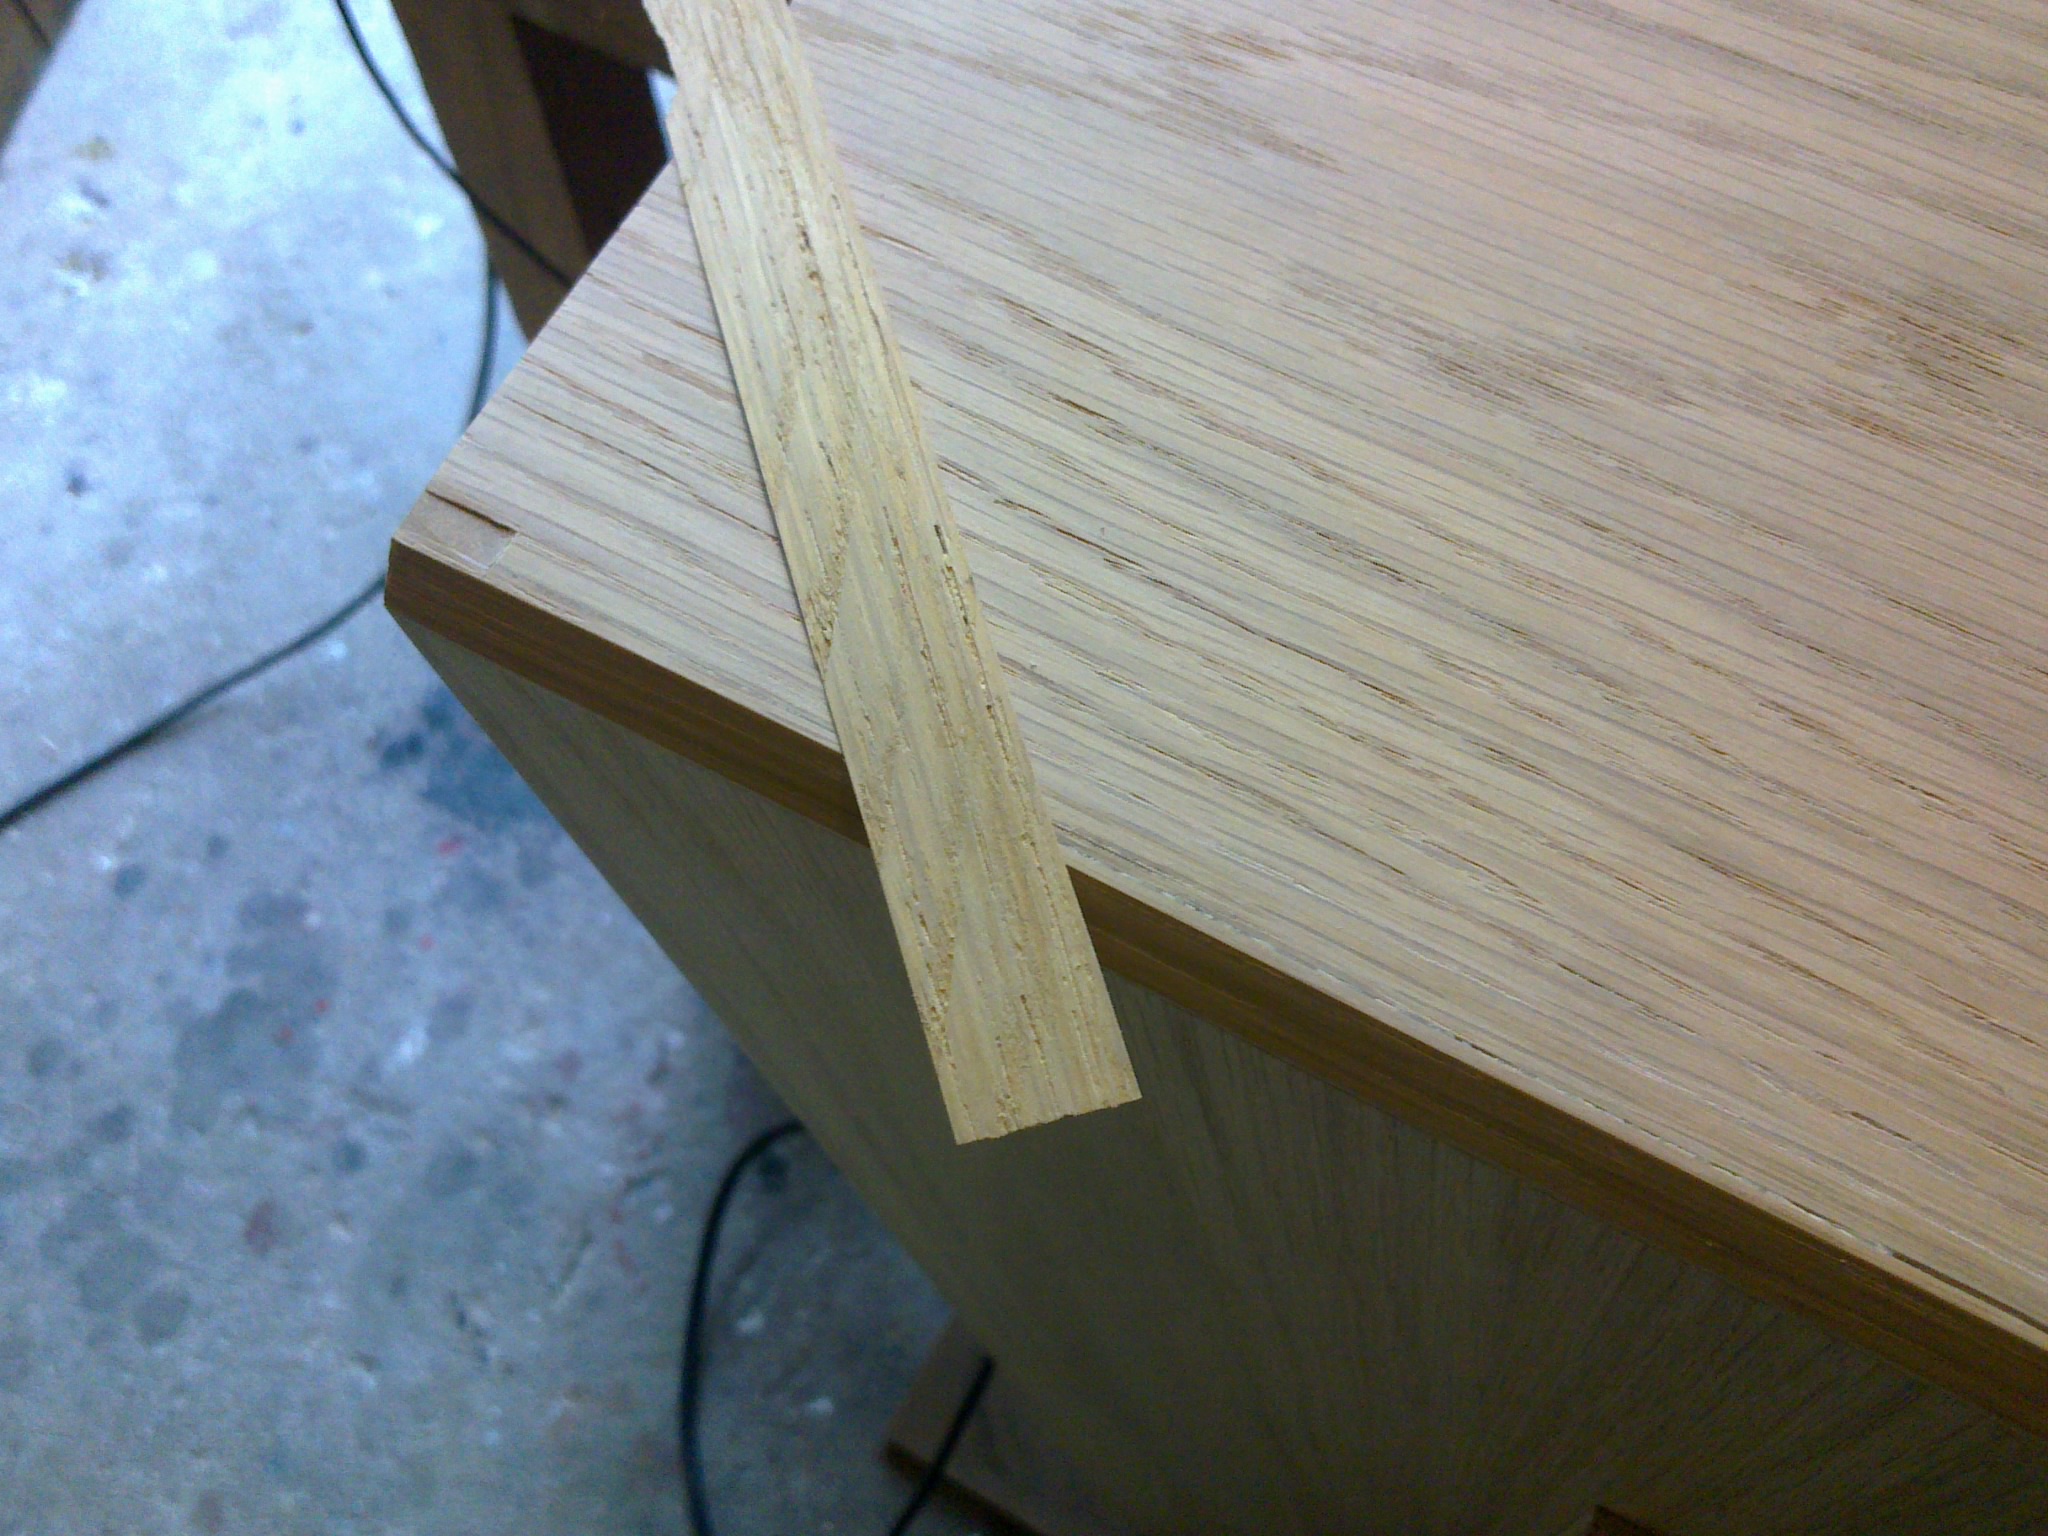
Remove grime without stripping patina, then address scratches, dents, lifting veneer, and weak glue blocks with reversible repairs where possible.
Read the repair guide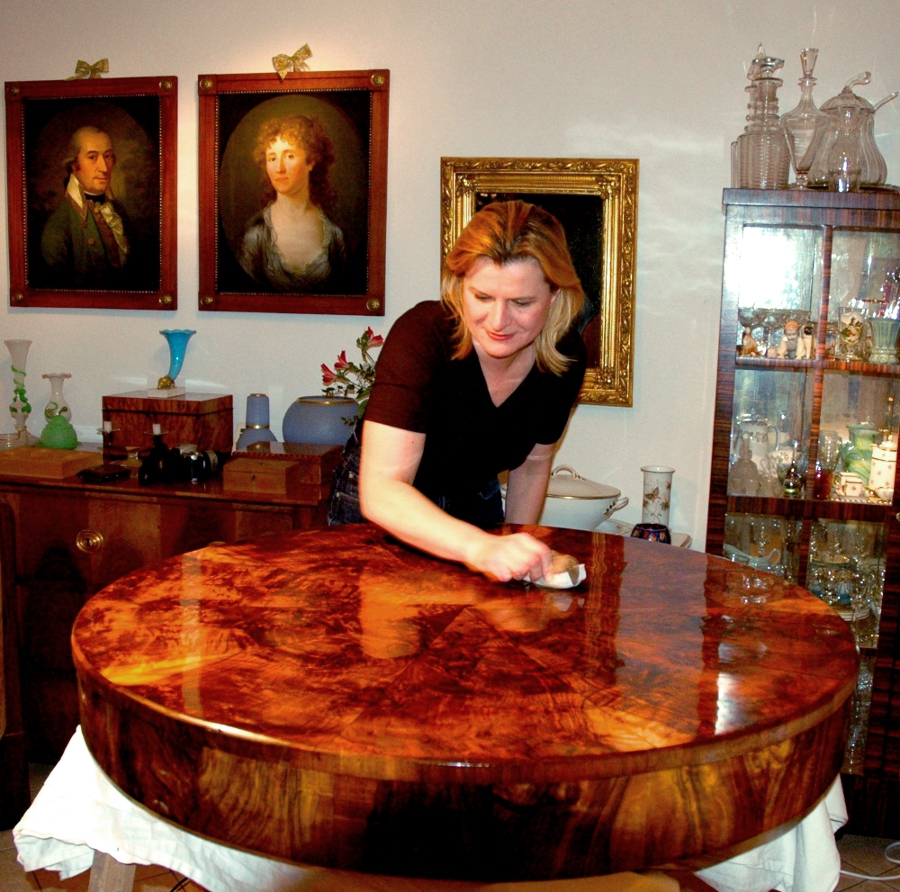
Decide between reviving the existing finish and applying a new one. Shellac, oil, and wax each behave differently on old, dry wood.
Read the refinishing guidePhotograph each side, label any parts that come apart, and record original hardware. This protects detail that is easy to lose during the work.
Re-glue loose joints and secure lifting veneer before any cleaning or finishing, so later steps are not working against a moving surface.
Start with the gentlest method and test in a hidden area. Many old finishes only need careful cleaning, not removal.
Choose a finish that suits how the piece is used and the indoor humidity swings common across Canadian seasons.
Maker's marks, joinery style, and saw or plane marks on hidden surfaces help place a piece in time and decide how much intervention is appropriate. A note on humidity is worth keeping near the bench.
Wood expands and contracts with moisture. Indoor relative humidity that drifts too low in winter can open joints and crack panels, while damp basements encourage mould and glue failure. Aim for stable conditions rather than a single perfect number.
Questions about a technique covered on this site are welcome. This form does not place an order or book a service; it simply records what you would like to ask.
Reference desk
Toronto, Ontario, Canada